Building The GGR
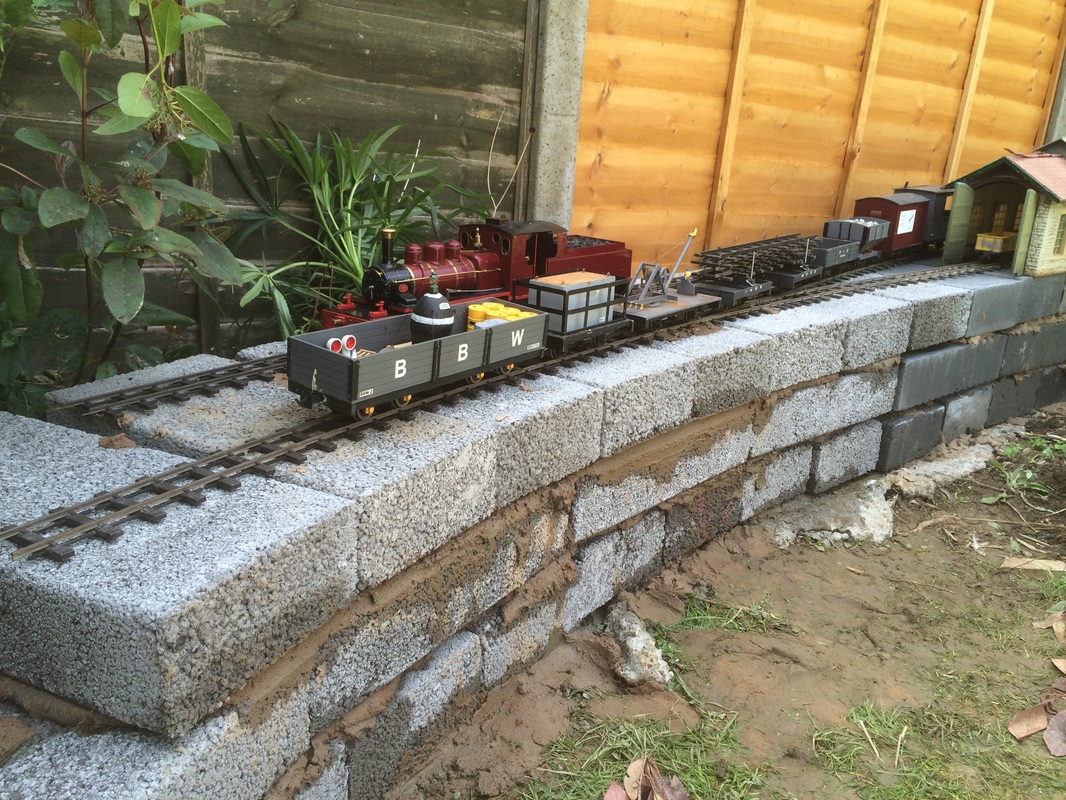
The GGR is built using a mixture of garden railway techniques from built on concrete blocks to decking boards

Useful Tips
Joining a local garden railway group or national organization like the 16mm Association or G Scale Society can provide valuable inspiration, expertise, and camaraderie. Building a garden railway requires significant time and financial commitment, so connecting with experienced hobbyists who have been down this path before can help you avoid common pitfalls. These groups tend to be very welcoming and may invite you to see their own railways firsthand.
When planning your railway, think carefully about your goals, users, and layout. Will this be solely for your enjoyment or will you run trains for others too? Will the track be at ground level or elevated on walls and pillars? And be sure to get approval from family members first - it's better to ask permission than forgiveness! Lay the groundwork properly from the start.
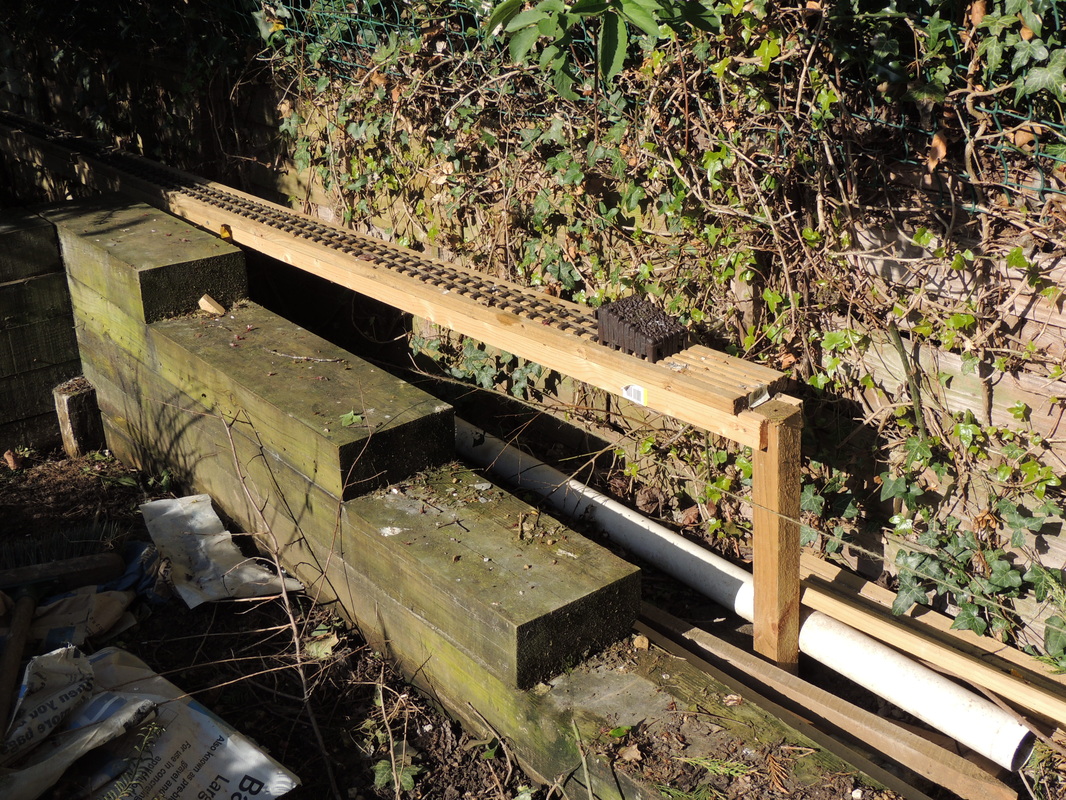
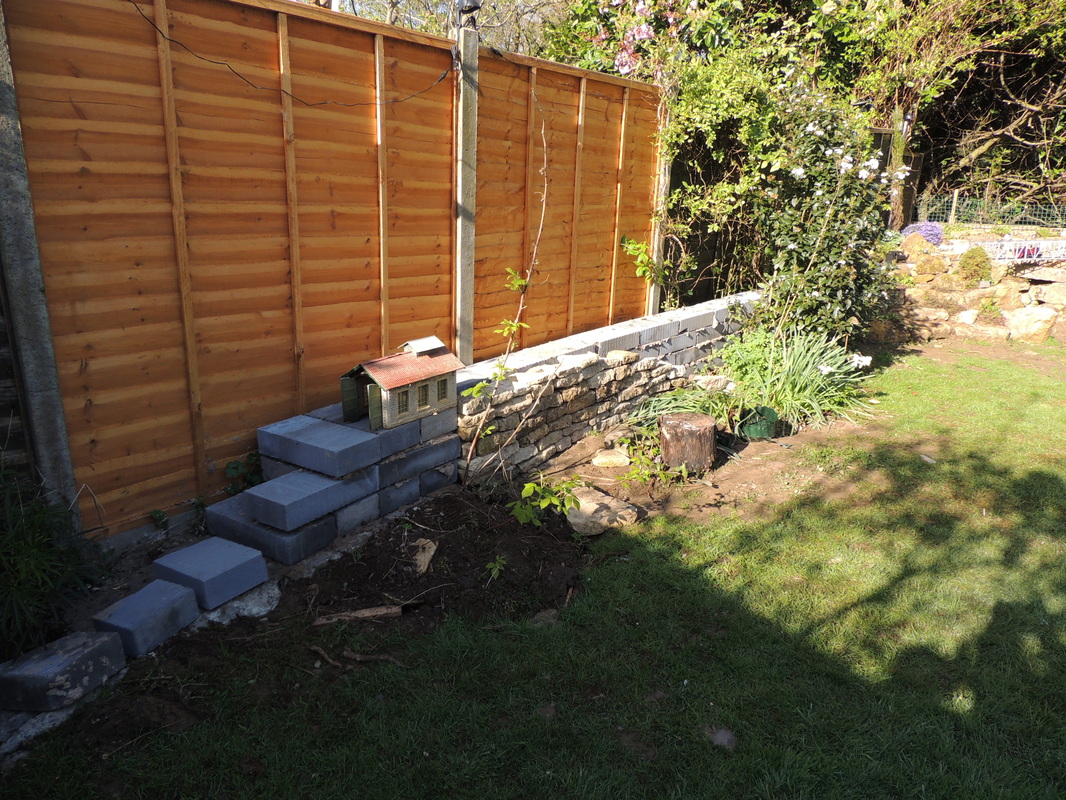
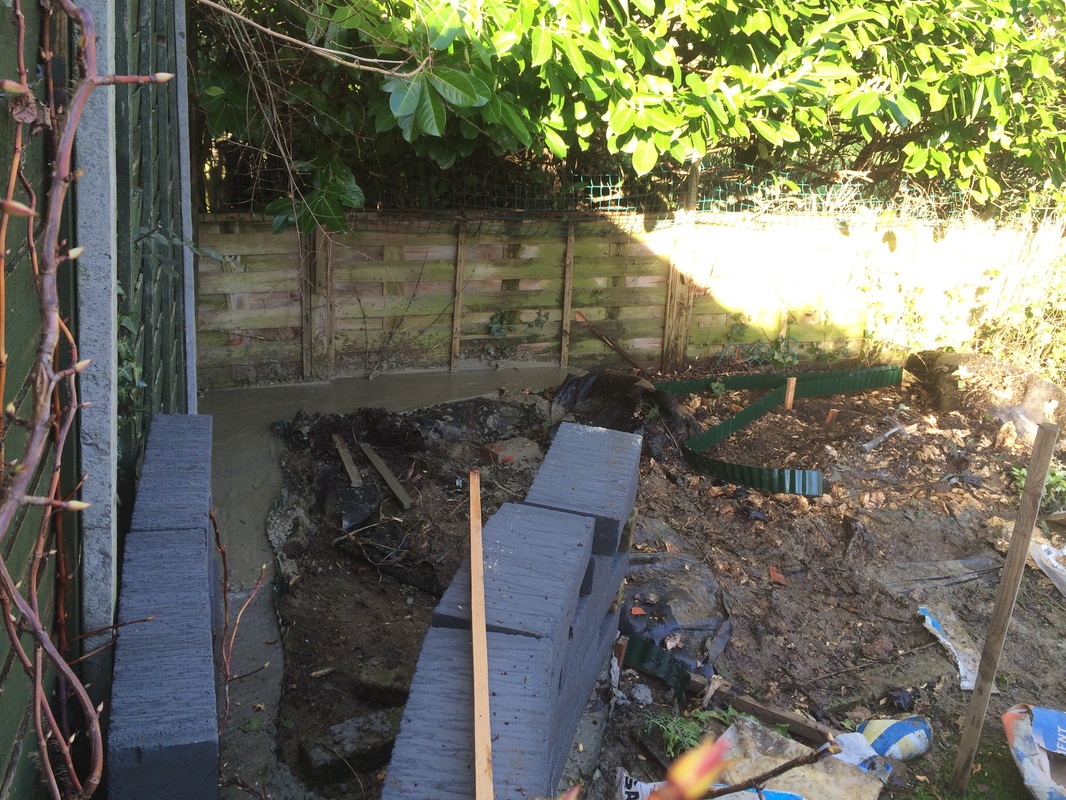
For foundations, a concrete mix of 4 parts ballast to 1 part cement, about 4 inches thick, works well. Renting a cement mixer for a weekend is worthwhile and will save you hassle. Thermolite blocks mortared together are easy to cut and shape for landscaping using basic tools like a wood saw or grinder (wear protective gear if using a grinder). For decking, don't skimp on quality as cheaper wood may warp - better to invest upfront than deal with ongoing issues.
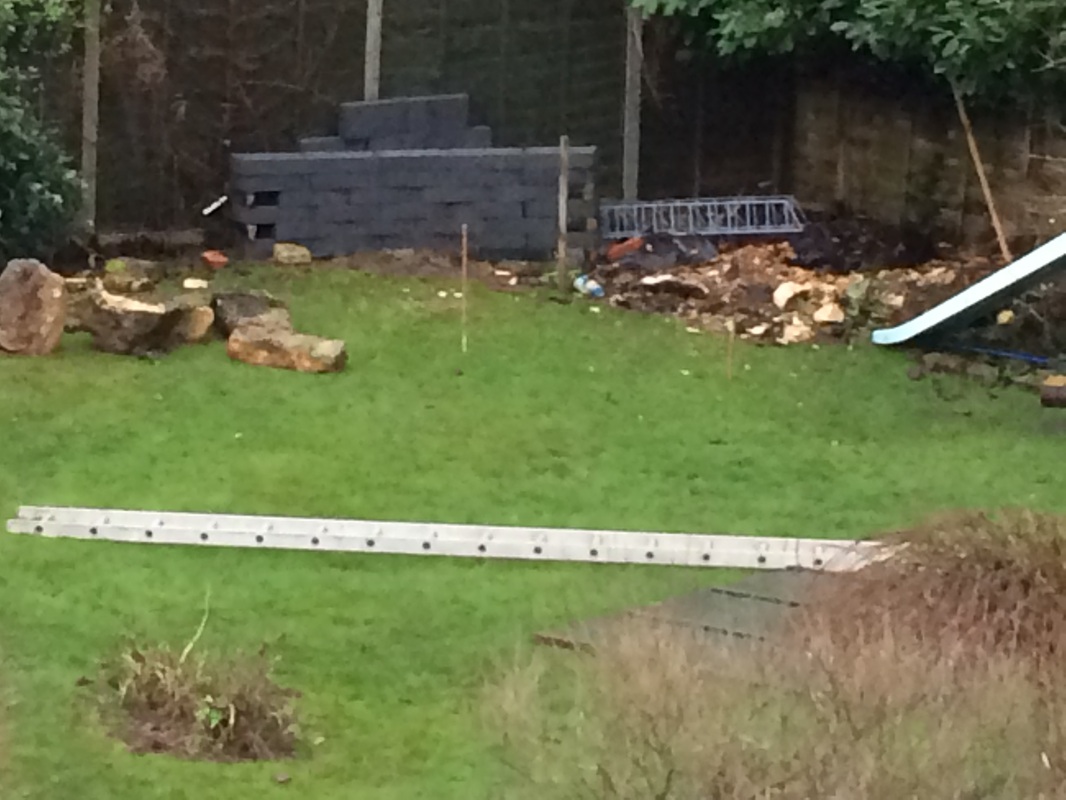
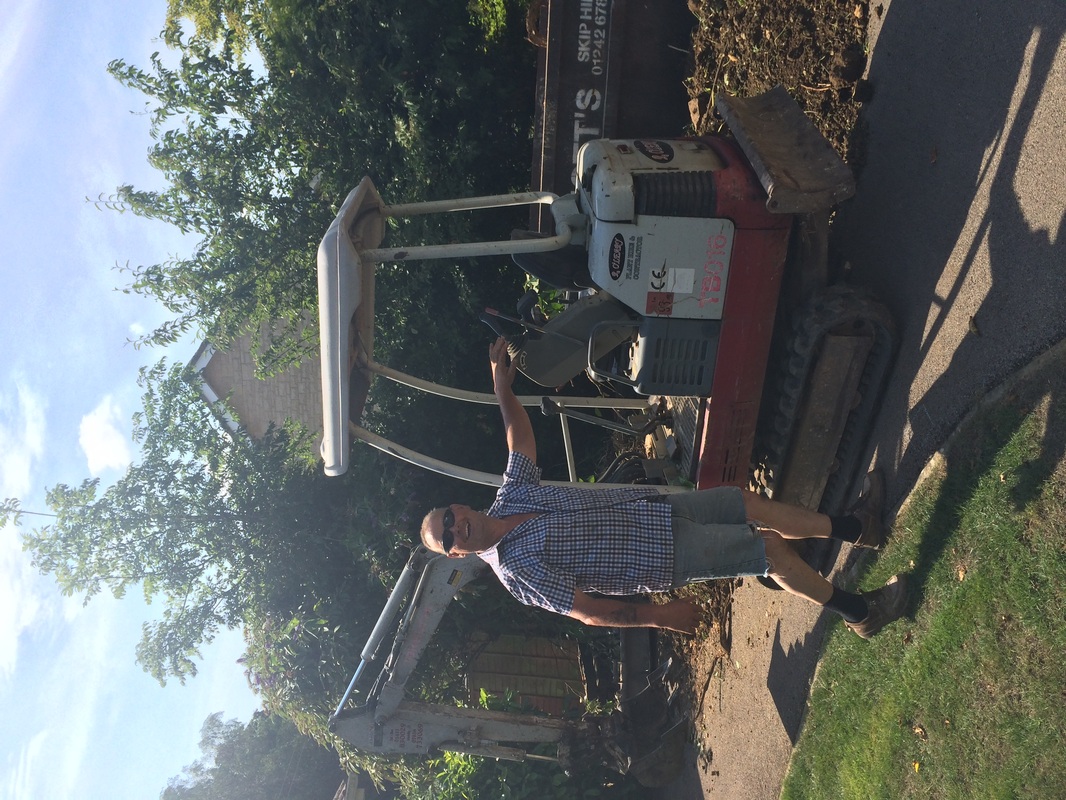
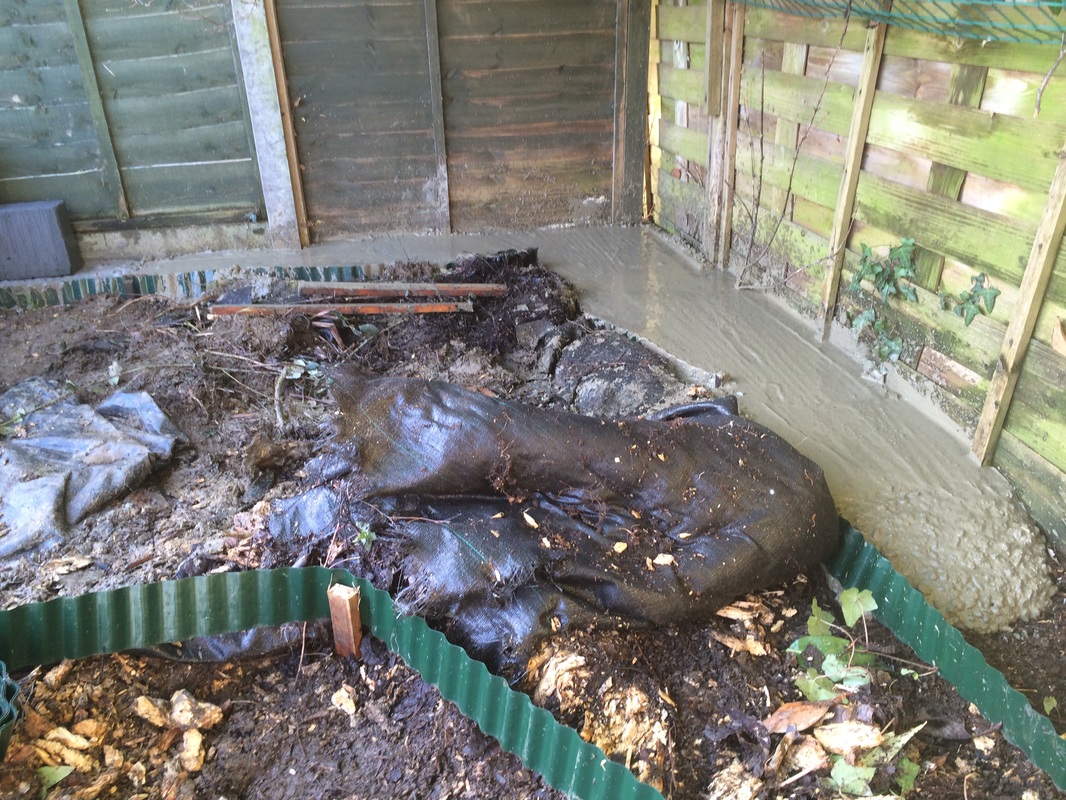
If excavating areas for the railway, renting a digger for a weekend can be a huge help, just take care around buried pipes and wires. Use tools like a laser level to accurately layout foundations and track - a small investment that pays off in ease and precision. Think ahead about lighting and wiring and install conduits early in the build process.
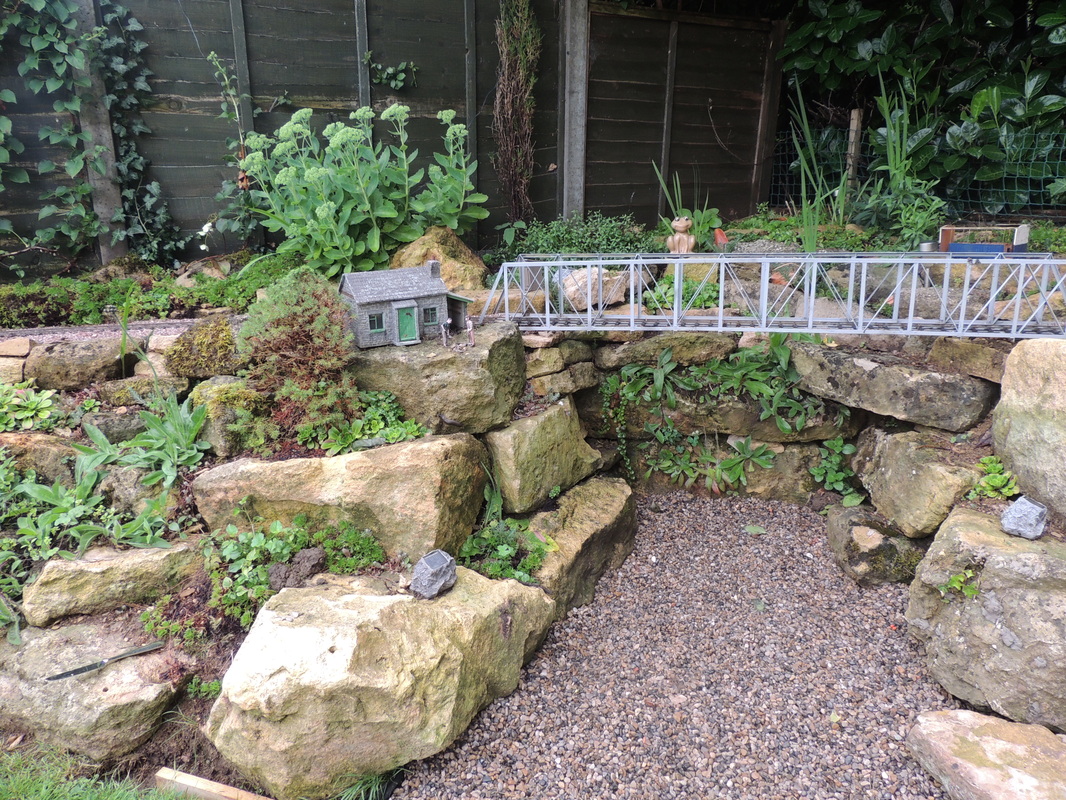
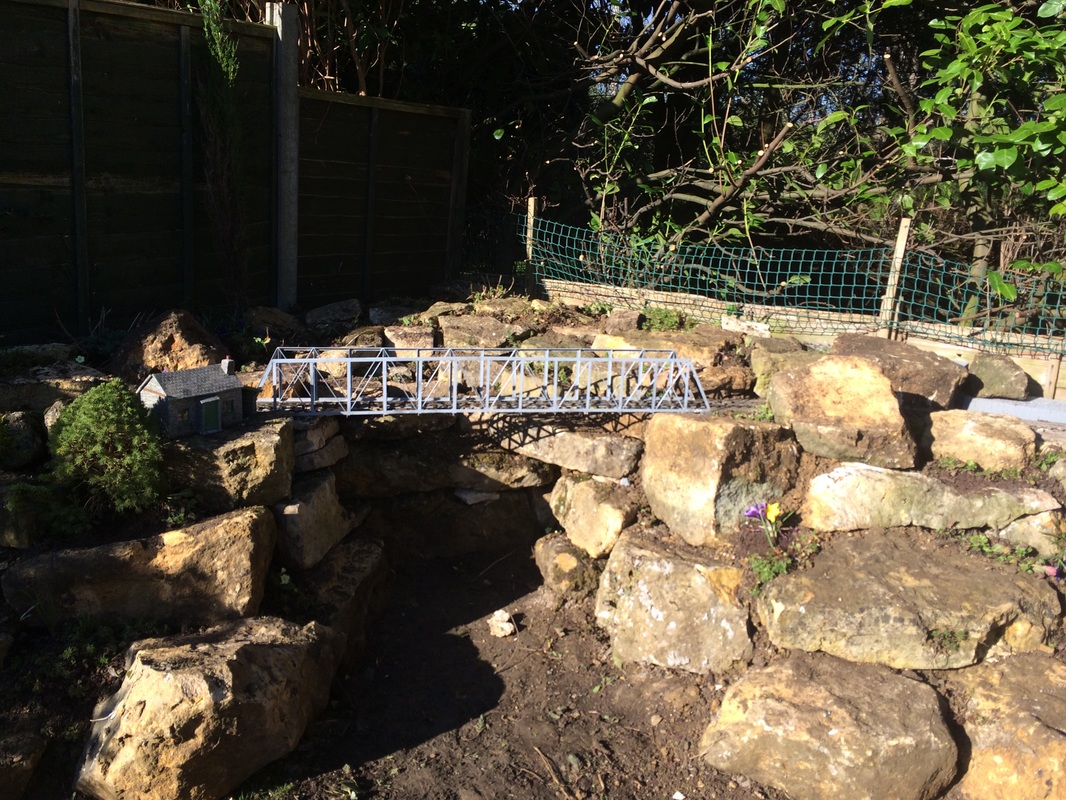
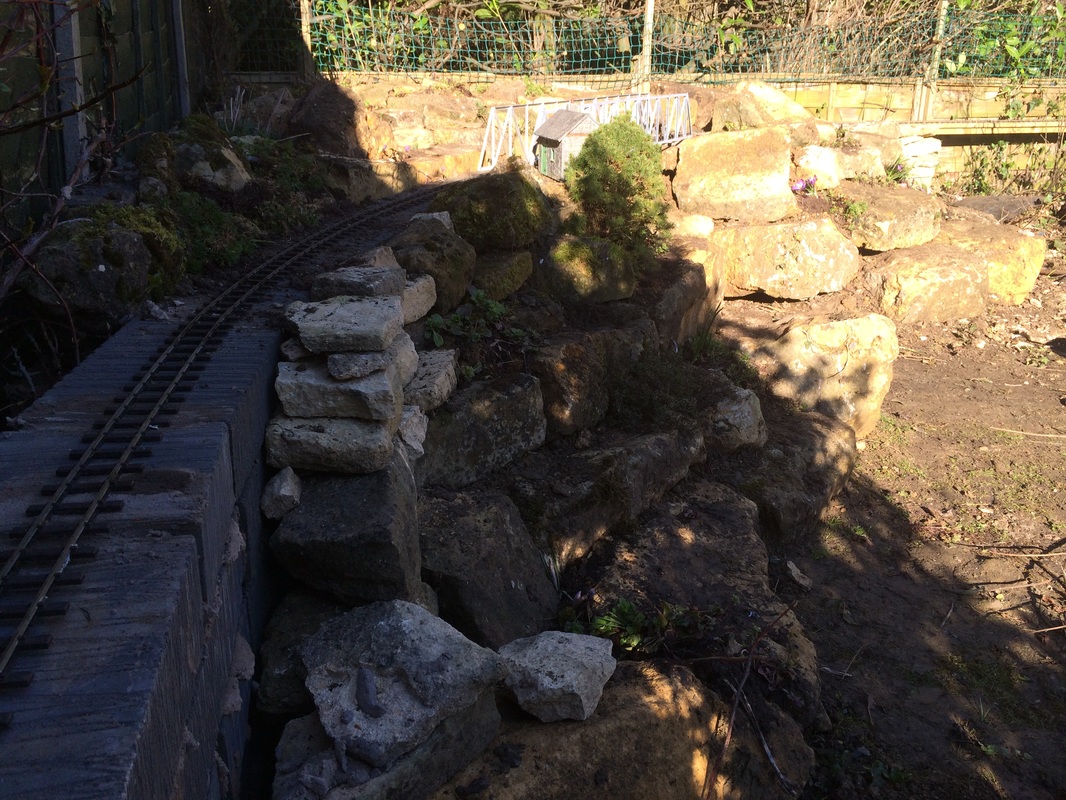
Use large stones for rockeries so they don't get overgrown. Secure track with ballast and diluted PVA rather than screws - it looks more realistic. Go with the largest radii curves your trains can handle. Keep inclines gentle, around 1 in 50 or less. Research plant sizes and conditions to select landscaping that enhances your railway without overgrowing it over time. Consider incorporating bridges suited to your railway's dimensions rather than custom building from scratch.
Overall, proper planning, research, and connecting with experienced hobbyists can set you up for an enjoyable garden railway that brings you pride and memories for years to come. Let me know if you would like me to clarify or expand on any part of this rewrite.
When planning your railway, think carefully about your goals, users, and layout. Will this be solely for your enjoyment or will you run trains for others too? Will the track be at ground level or elevated on walls and pillars? And be sure to get approval from family members first - it's better to ask permission than forgiveness! Lay the groundwork properly from the start.
For foundations, a concrete mix of 4 parts ballast to 1 part cement, about 4 inches thick, works well. Renting a cement mixer for a weekend is worthwhile and will save you hassle. Thermolite blocks mortared together are easy to cut and shape for landscaping using basic tools like a wood saw or grinder (wear protective gear if using a grinder). For decking, don't skimp on quality as cheaper wood may warp - better to invest upfront than deal with ongoing issues.
If excavating areas for the railway, renting a digger for a weekend can be a huge help, just take care around buried pipes and wires. Use tools like a laser level to accurately layout foundations and track - a small investment that pays off in ease and precision. Think ahead about lighting and wiring and install conduits early in the build process.
Use large stones for rockeries so they don't get overgrown. Secure track with ballast and diluted PVA rather than screws - it looks more realistic. Go with the largest radii curves your trains can handle. Keep inclines gentle, around 1 in 50 or less. Research plant sizes and conditions to select landscaping that enhances your railway without overgrowing it over time. Consider incorporating bridges suited to your railway's dimensions rather than custom building from scratch.
Overall, proper planning, research, and connecting with experienced hobbyists can set you up for an enjoyable garden railway that brings you pride and memories for years to come. Let me know if you would like me to clarify or expand on any part of this rewrite.